
To master the art of wall staging, start by understanding your wall size. Small walls thrive on minimalism, while large spaces benefit from grouped smaller artworks to create balance. Choose pieces that resonate with you, keeping color and theme in mind for a cohesive gallery wall. Hang art at eye level and use consistent spacing for a polished look. Don't forget to explore alternative display options like floating shelves or easels for a dynamic feel. With thoughtful planning and creative techniques, you can elevate your space. Keep going to discover more tips that can enhance your wall staging! Incorporate different textures and materials, such as woven baskets, mirrors, or framed textiles, to add depth and visual interest to your display. Experiment with asymmetrical arrangements for a modern twist, or stick to symmetry for a timeless appeal. With these stunning staging tips for homes, you can transform blank walls into captivating focal points that reflect your personal style.
Key Takeaways
- Assess wall size and select artwork that complements its dimensions, avoiding overcrowding small walls and balancing larger spaces.
- Create a cohesive gallery wall by choosing pieces that resonate in color, theme, and style while mixing various sizes.
- Hang art at eye level, typically between 58 to 65 inches, ensuring main pieces are centered for visual balance.
- Use paper templates or low-stick adhesive for accurate placement before committing to hanging, simplifying the process.
Understanding Wall Size
When selecting artwork, understanding your wall size is crucial to achieving a balanced and visually appealing display.
Small walls can quickly feel cluttered if you overcrowd them with too many pieces; instead, aim for a minimalist approach.
On the other hand, large walls with small art can seem incomplete, so consider grouping smaller pieces together to create a cohesive look.
This grouping not only enhances visual interest but also gives the illusion of a larger, unified piece.
Striking a balance between the size of your artwork and your wall's dimensions significantly enhances the overall aesthetic of your space, making it essential to plan your selections thoughtfully for maximum impact.
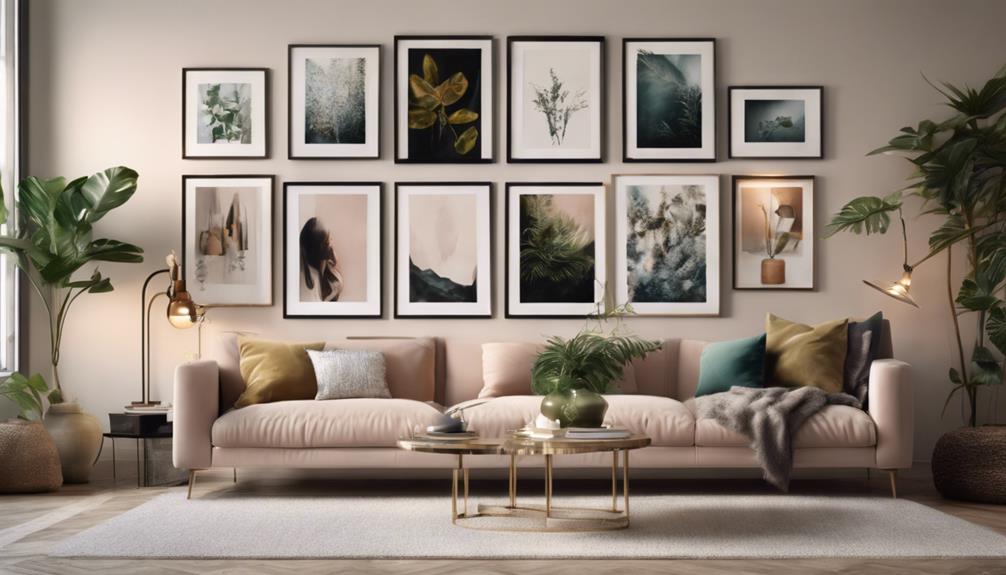
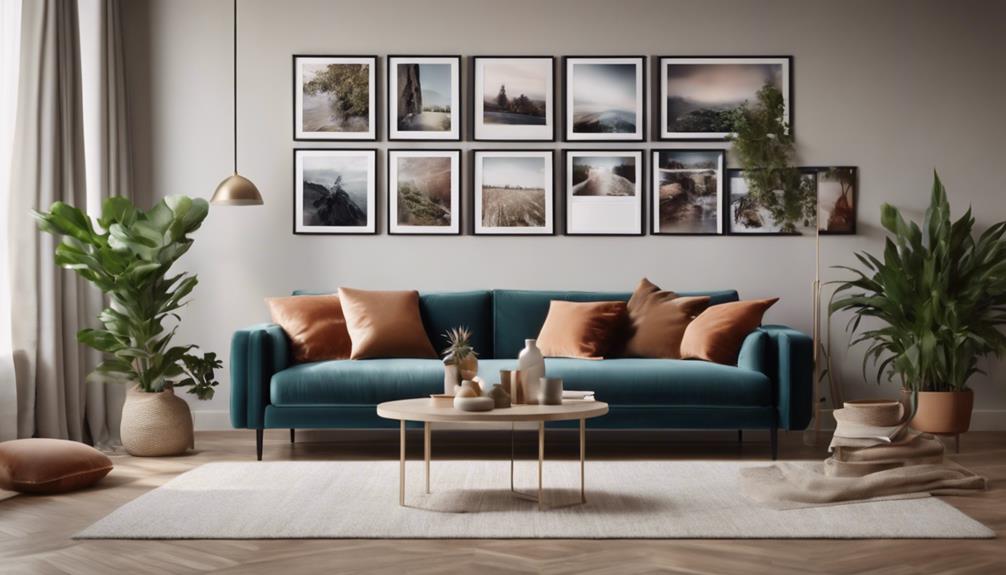
Creating a Gallery Wall
A gallery wall combines various artworks and decorative items to create a visually cohesive and inviting display that reflects your personal style.
Start by selecting pieces that resonate with you, considering color, theme, and style for visual harmony. Don't hesitate to mix different sizes and types of art, but aim for a balanced look. Use matching frames or mats to unify eclectic collections.
Before hanging, lay out your selected pieces on the floor to visualize the arrangement. Consider the wall's size to avoid clutter or imbalance.
A well-curated gallery wall not only enhances your space but also adds warmth and character, making it a true reflection of who you are. Let your creativity shine!
Optimal Picture Placement
Position your artwork at eye level, typically between 58 to 65 inches from the floor, to ensure it captures attention effectively. If you're creating a gallery wall, center your main piece at this height for visual balance.
Aim for a spacing of 4 to 6 inches between your artworks and any nearby furniture to maintain an open feel. In rooms where people frequently sit, like living rooms or dining areas, adjust the height accordingly.
Start with the largest piece when organizing a gallery to establish symmetry, and space smaller items 2 to 3 inches apart for a cohesive look.
Keeping these guidelines in mind will enhance your wall's aesthetic appeal and create a harmonious atmosphere.
Effective Art Hanging Techniques
Utilizing paper templates for each artwork simplifies the hanging process and ensures accurate placement on your wall. Start by creating full-sized, labeled templates for each piece.
Use low-stick adhesive to attach them to the wall, allowing you to visualize your layout without causing damage. Assess the weight of each artwork to choose the right mounting method, ensuring stability.
Aim to hang individual pieces at eye level, typically between 58 to 65 inches from the floor. For gallery walls, center the main piece at eye level and space items 2 to 3 inches apart.
Prior planning and careful placement enhance the overall staging effect, making your art display both visually appealing and cohesive.
Exploring Wall Display Alternatives
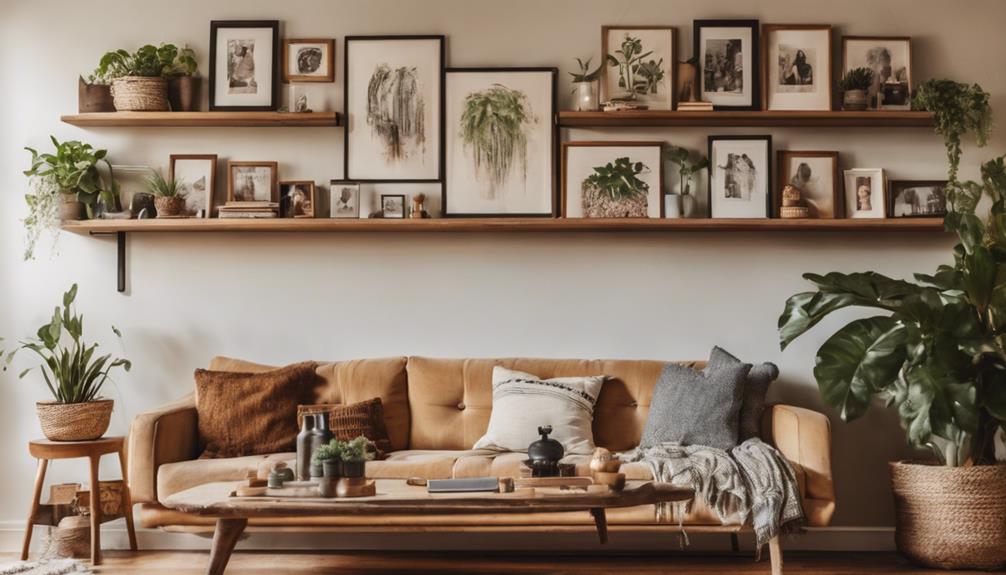
Consider incorporating floating shelves as a versatile alternative for displaying art without the commitment of permanent hanging. These shelves let you easily rearrange your artwork, allowing your creativity to shine. You can group pieces on the shelves just like you'd on a wall, using similar themes or colors for a cohesive look.
Another option is using furniture rental, where you can find complementary decor to enhance your art displays. Don't forget about using easels or decorative stands for a unique touch.
These alternatives not only add character but also allow you to change your display as your tastes evolve. Explore these options to create a dynamic and engaging wall staging that reflects your personal style.
Conclusion
Now that you've unlocked the secrets of wall staging, it's time to let your creativity flow like a river of color and texture.
Picture your walls as blank canvases, yearning for the vibrant stories your art can tell.
Embrace each piece, balance the scale, and watch your space transform into a visual symphony that resonates with your soul. Embrace the harmony that comes from intentional design, where every detail contributes to a cohesive and inviting ambiance. By thoughtfully curating your environment, you can create not only a stunning aesthetic but also a functional space that fosters positive connections. This approach can also help you master roommate relationships effectively, as a well-balanced, shared environment encourages collaboration and mutual respect.
With every frame and hue, you're not just decorating—you're crafting an experience that invites admiration and sparks conversation.